DIY Origami Unicorn
- , by Jessica Miller
- 3 min reading time

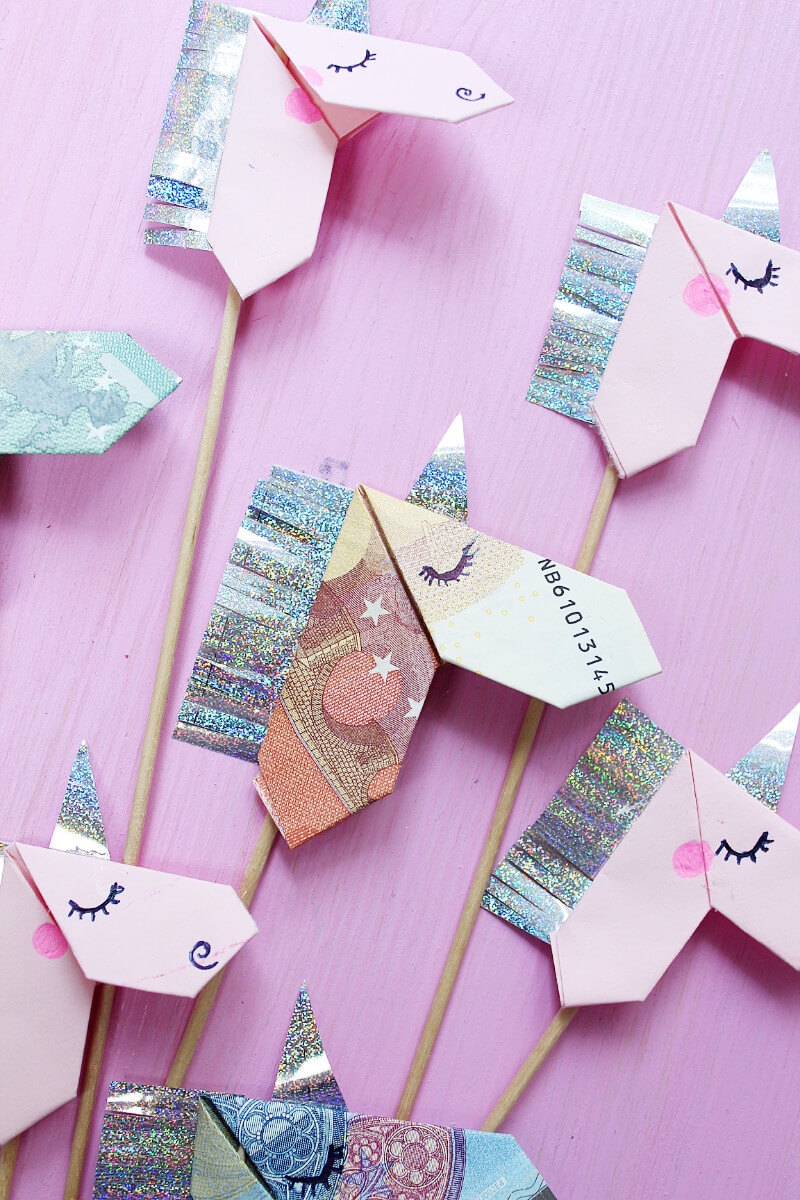
Wahooo the unicorns have conquered the world!? Today in a very crazy DIY, which I have never seen before: Folded Origami Unicorns!
I was recently asked if I had a great idea for making cash gifts? Nothing could be easier than that. 😉 I remember when I was a "teenager" (I used to get really angry when people called me that?) and I thought everything I got as a gift was absolutely stupid. That's why my aunts and grandmothers would only give me money... and in the long run it got a little boring. My idea: Silver gifts, yes, but then wrapped really cool... like Origami unicorns! I think as a teenager I would have been very happy with this gift idea, what do you think?
Interested in more nice origami ideas?
Pssst... on this Origami site you'll find many more great ideas about folding banknotes. How about an Origami heart, a rose or a cute butterfly? I'm really excited about all the creative ideas on and I think I'm going to have a big Origami party soon! 😀
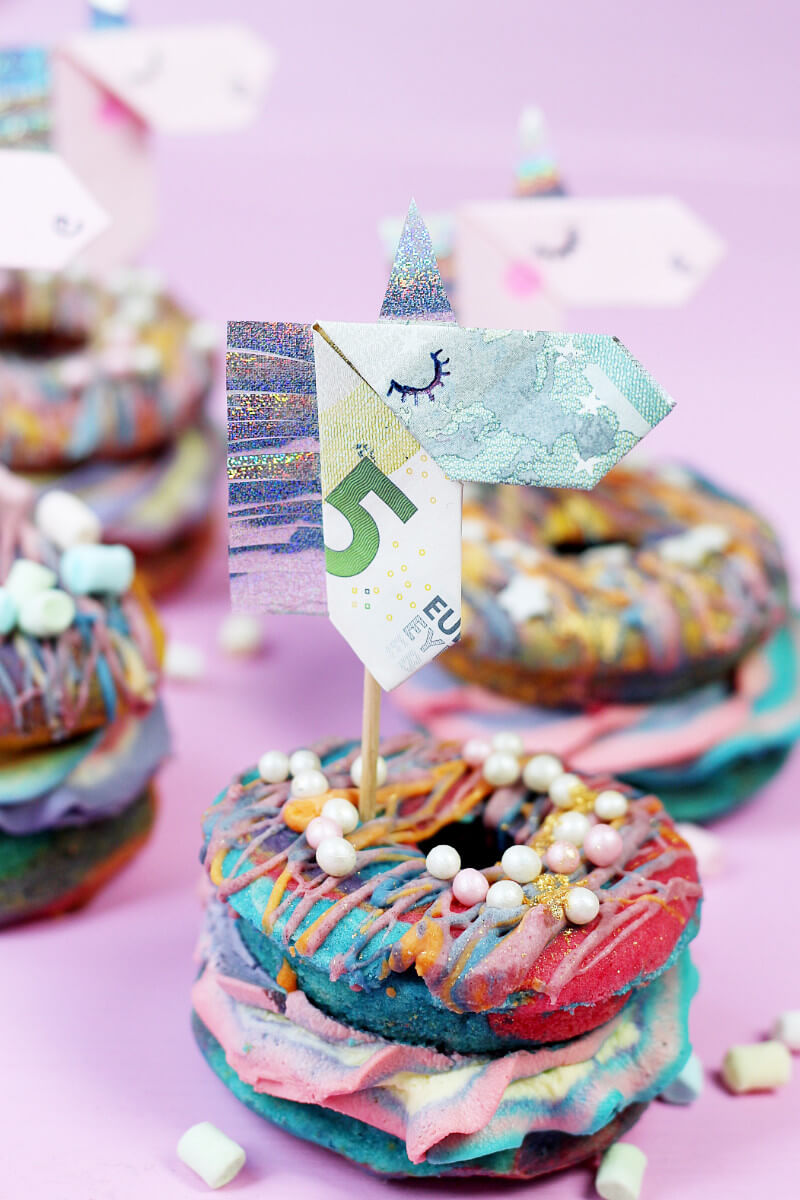
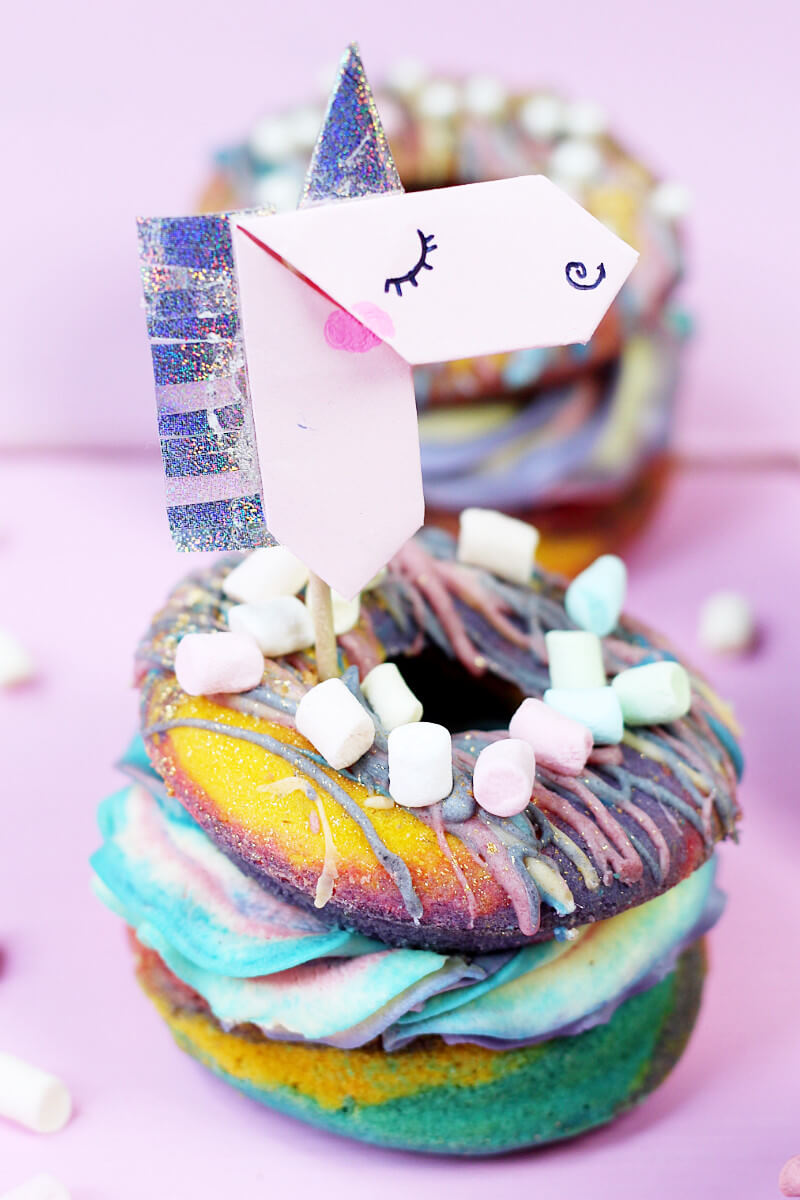
I think the coolest idea is this: I recently baked some crazy rainbow donut burgers and then put the folded origami unicorns on top. As a birthday present for an absolute unicorn lover, I think that would be super cool. You can also do it with a larger cake and several Origami unicorns.
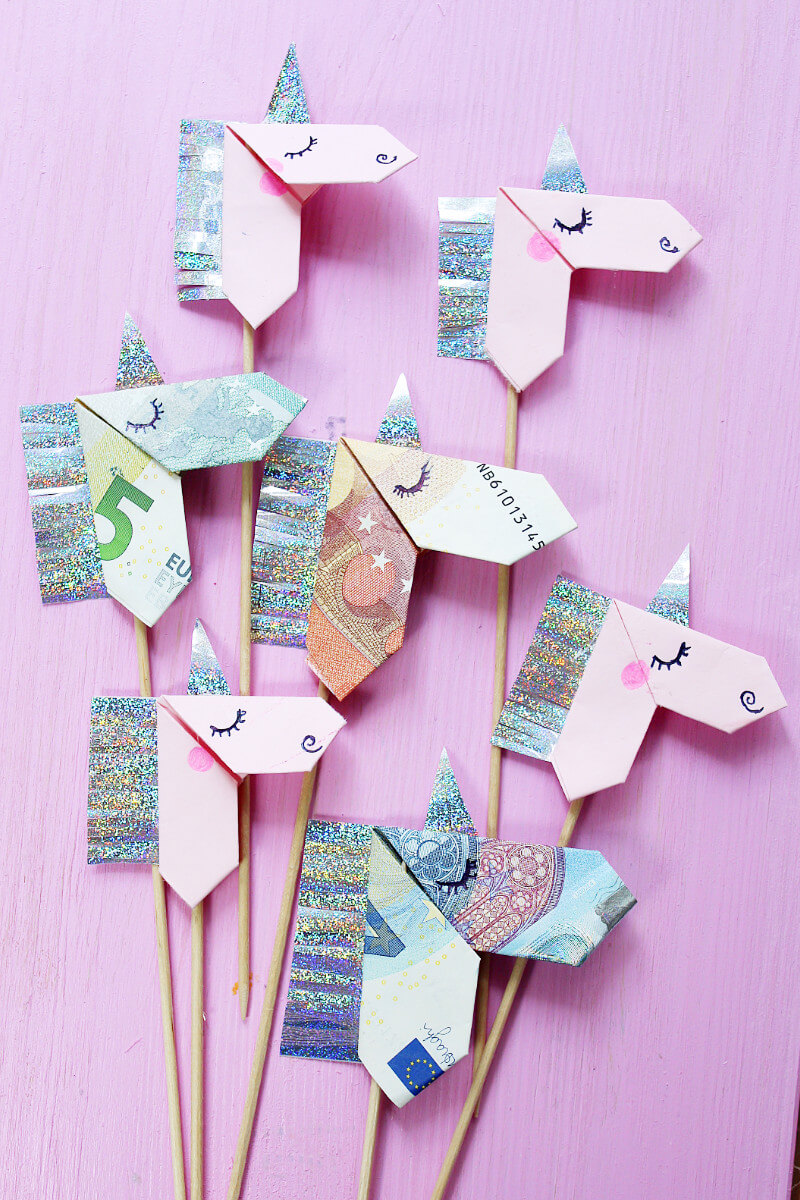
Awww... don't the unicorns look cute? I think the glitter in the banknotes matches the unicorn look perfectly!
And here is a DIY manual as a short video:

DIY Instructions: Folding banknotes to Origami Unicorn
Material:
- Banknotes (alternatively, normal origami paper is also possible)
- Glitter or gold paper
- Wooden skewers
- Sellotape or general purpose adhesive
- Alternatively instead of the painted eyes: Goggle eyes for sticking on
That's the way to do it:
- If you use a square Origami paper instead of a banknote, you have to cut it in half first, so that you have a rectangle in front of you.
- In the first step you fold the banknote or your rectangular paper once lengthwise.
- Fold the resulting rectangle once to the middle and unfold it again. Now you fold both sides in the middle upwards.
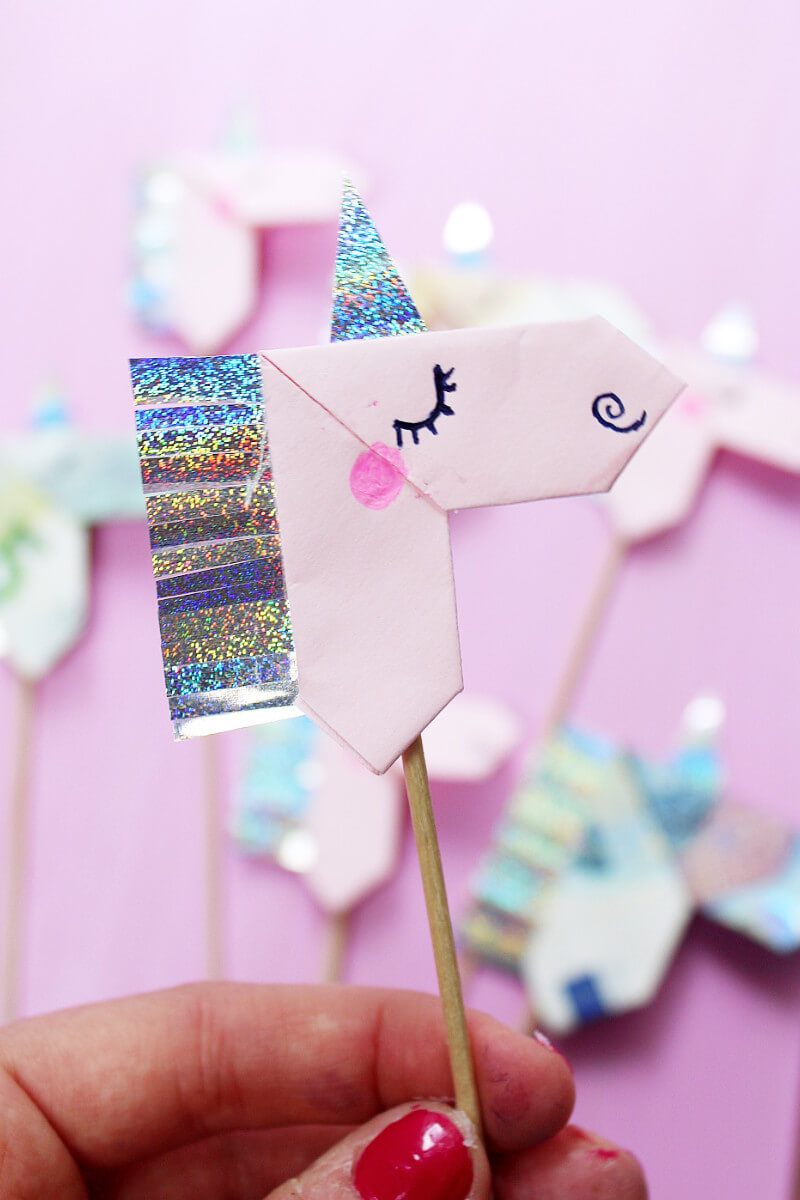
- Next you fold the final unicorn shape: Fold both sides diagonally to the side so that you have a small triangle in front of you. This gives the unicorn its basic shape.
- Nearly done: Now you have to fold the corners again to form a triangle, thus forming the muzzle and the neck.
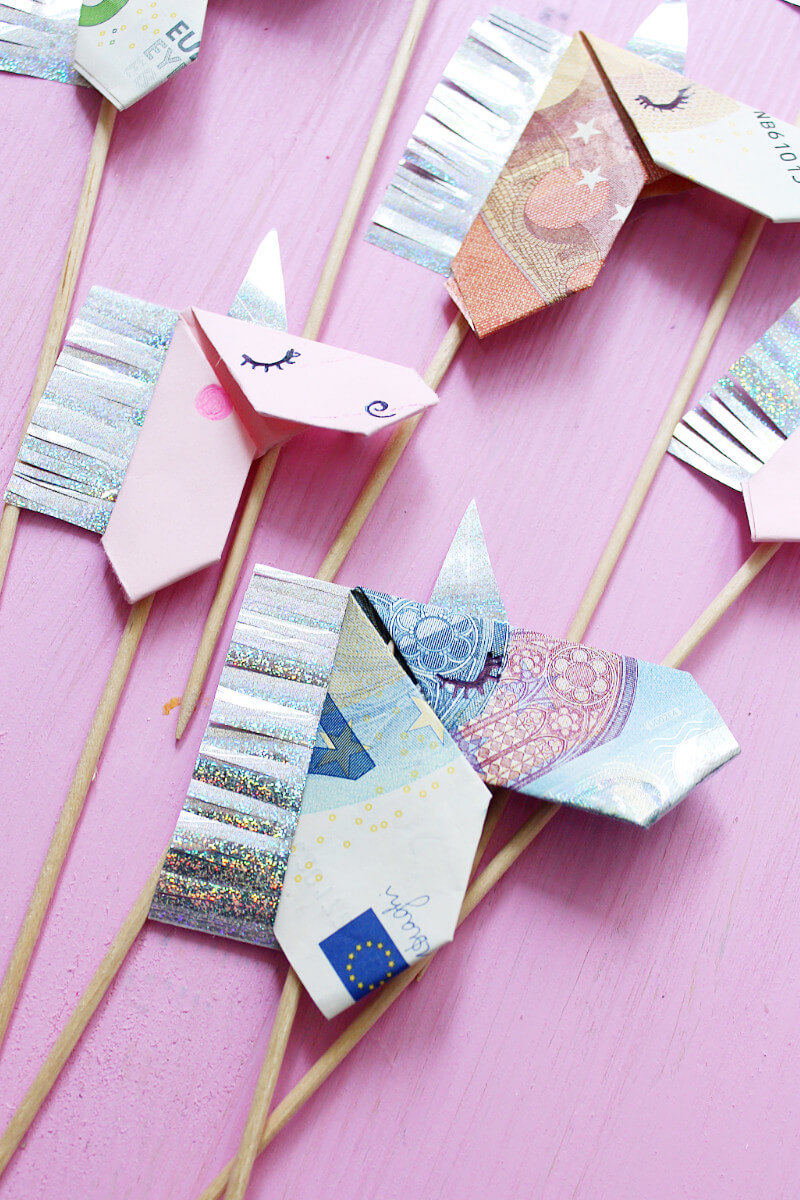
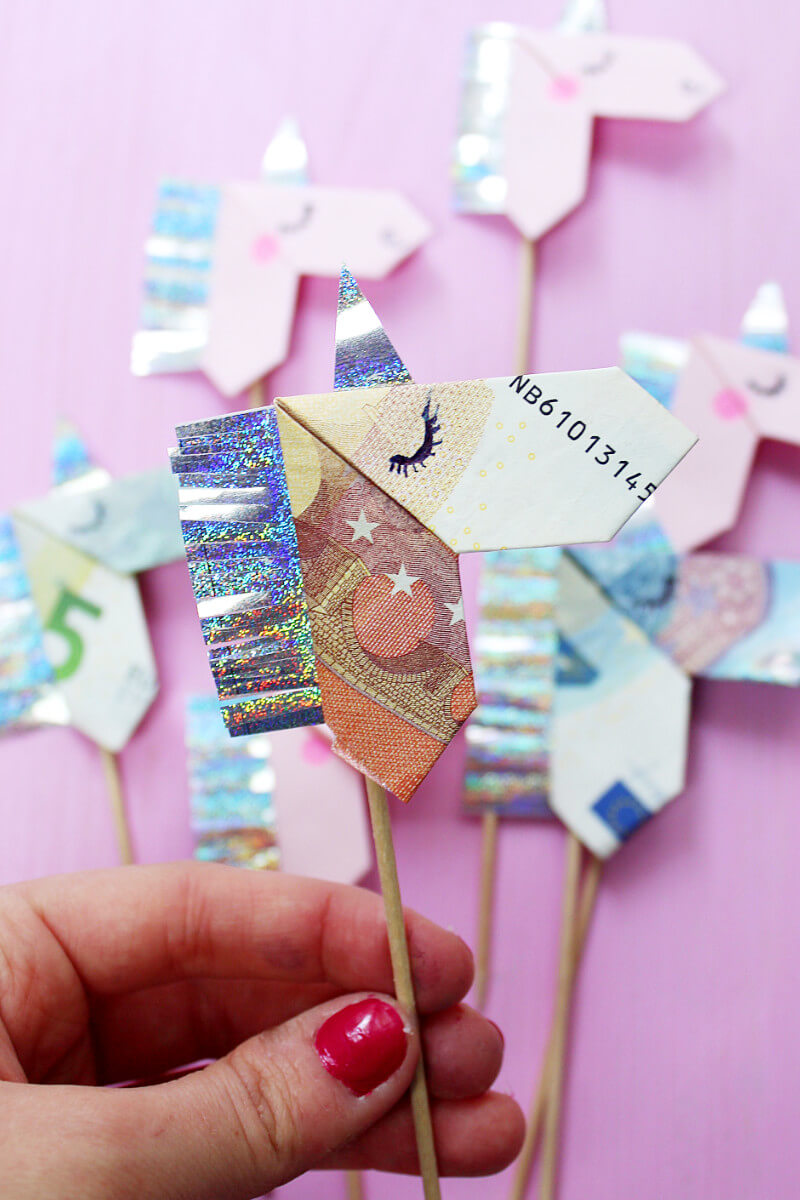
- For the unicorn mane I used a strip of glitter paper which I cut with scissors. I also cut the horn out of the foil. You can glue the mane and the horn either with a small strip of tape or with some glue (it comes off afterwards).
- Finally you fix your unicorn with a strip of adhesive tape on the wooden skewer... and you are done! ?
Translated from madmoisell.com
To conclude, another video about unicorn origami
Have you enjoyed this unicorn tutorial? You may enjoy our unicorn origami products such as the origami unicorn necklace, the origami unicorn earrings and the origami unicorn hoodie!


